在我们测试和使用websocket之前,我们必须要有一个现成的websocket服务器,最好能够快速搭建一个,所以现在必须快速搭建一个websocket服务器,在这里,分别介绍一个c++和go语言写的websocket server的库,还有,还会介绍如何用JavaScript来测试websocket server,方便我们了解整个websocket的工作流程。
1. Simple-WebSocket-Server
Simple-WebSocket-Server是用c++语言写的工具。只需几行命令,就可以轻易地搭建websocket服务器。
git clone https://github.com/eidheim/Simple-WebSocket-Server
cd Simple-WebSocket-Server
cmake .
make
编译完成之后会产生两个可执行文件,其实是两个demo程序,也是服务器端程序,分别是ws_examples和wss_examples,其中wss_examples是对应SSL加密的,需要证书,我们这里只需要ws_examples,先不管wss_examples。
运行ws_examples。
$ ./ws_examples
Server: Opened connection 140361834957120
Client: Opened connection
Client: Sending message: "Hello"
Server: Message received: "Hello" from 140361834957120
Server: Sending message "Hello" to 140361834957120
Client: Message received: "Hello"
Client: Sending close connection
Server: Closed connection 140361834957120 with status code 1000
Client: Closed connection with status code 1000
这个程序演示了websocket连接的整个过程,它先是在服务器端开启websocket服务,然后客户端连接上来,并发送"hello"给服务器端,服务器端接收后,又把"hello"这条信息发给客户端,客户端接收了"hello"之后,客户端请求关闭连接,服务器端接收到客户端发送的关闭连接的请求后,就关闭了连接,最后,客户端也关闭了连接,整个流程就结束了。
2. JavaScript访问websocket服务
现在服务器也搭起来,要让客户端能够连接上去,只需要使用JavaScript就可以了。也是几行代码就能搞定。
打开chrome浏览器的开发者工具,切换到console标签。
输入下面的指令。
new WebSocket("ws://localhost:8080/echo")
如下图所示:
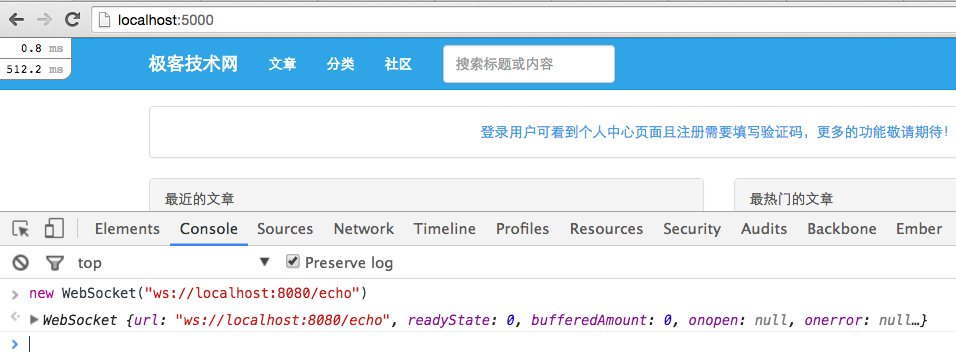
Simple-WebSocket-Server默认是监听在8080端口的,且路径是/echo。
有一个地方值得注意,你需要在localhost域名下访问WebSocket服务。
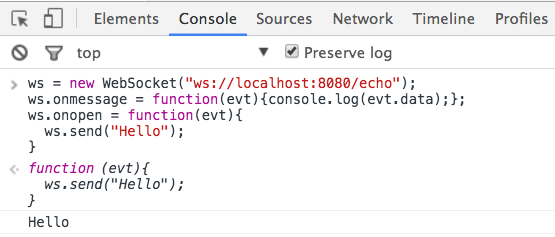
现在来给WebSocket服务器发送一条字符串"hello"。
ws = new WebSocket("ws://localhost:8080/echo");
ws.onmessage = function(evt){console.log(evt.data);};
ws.onopen = function(evt){
  ws.send("Hello");
}
其实就是利用onmessage和onopen这两个回调函数,ws.send("Hello");表示向服务器发送"hello"。onmessage这个回调会把服务器的输出用console.log打印出来。效果如下:
最后,客户端要发送关闭连接的指令。
ws.close();
整个过程的代码可以是这样子的。
var ws;
window.onload = function(){
  ws = new WebSocket("ws://localhost:8080/echo");
  ws.onmessage = function(evt){console.log(evt.data);};
  ws.onopen = function(evt){
    ws.send("Hello");
  }
}
window.onclose = function(){
  ws.close();
}
3. websocketd
Turn any program that uses STDIN/STDOUT into a WebSocket server. Like inetd, but for WebSockets.
websocketd是一个用go语言写的工具,它可以让你的程序跑在websocket中。
我们来演示一下就清楚了。首先是安装。
如果是mac系统,可以这样。
$ brew install websocketd
如果是其他平台,可以找到相应的安装包,地址为: https://github.com/joewalnes/websocketd/releases。
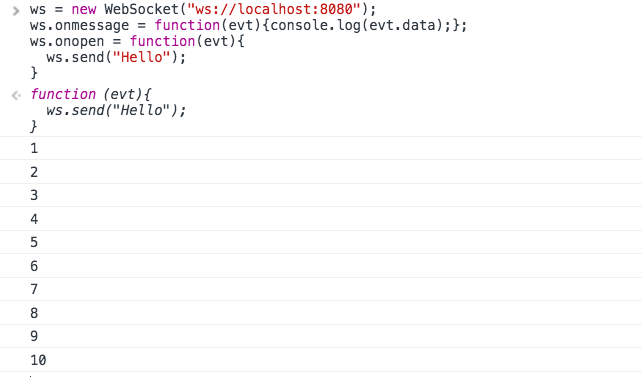
接下来我们创建一个文件,叫count.sh,内容如下:
#!/bin/bash
for ((COUNT = 1; COUNT <= 10; COUNT++)); do
  echo $COUNT
  sleep 1
done
这个shell脚本是每隔一秒就输出一个数字,数字从1到10。
然后执行下面的指令,给这个文件加上可执行的权限。
$ chmod +x count.sh
最后运行这个websocket服务器。
$ websocketd --port=8080 ./count.sh
Thu, 07 Apr 2016 14:54:06 +0800 | INFO   | server     |  | Serving using application   : ./count.sh
Thu, 07 Apr 2016 14:54:06 +0800 | INFO   | server     |  | Starting WebSocket server   : ws://MacintoshdeMacBook-Air.local:8080/
测试方法跟上文所讲的一样,服务器仍然监听在8080端口,只不过路径是/。
本篇完结。